What is OptiDev Cloud
OptiDev Cloud is a ready-to-use backend for your app. It gives you everything you need to build real applications:- Database - Store and organize your app’s data (user profiles, orders, messages, etc.)
- Authentication - Let users create accounts and log in securely
- Edge Functions - Run server-side code for things like payment processing or sending emails
- Secrets - Securely manage environment variables and API keys
- Storage - Store files like images, documents, and videos
- Advisors - Get security and performance recommendations
Works with OptiDev Agent
OptiDev Agent understands OptiDev Cloud automatically. You can simply describe what you need:- “Create a table to store customer orders with name, email, and order total”
- “Add user login to my app”
- “Create an API endpoint that connects to Stripe for payments”
- “Set up file upload for profile pictures”
Activating OptiDev Cloud
Step 1: Open OptiDev Cloud
In your project, click the OptiDev Cloud tab in the left sidebar (cloud icon).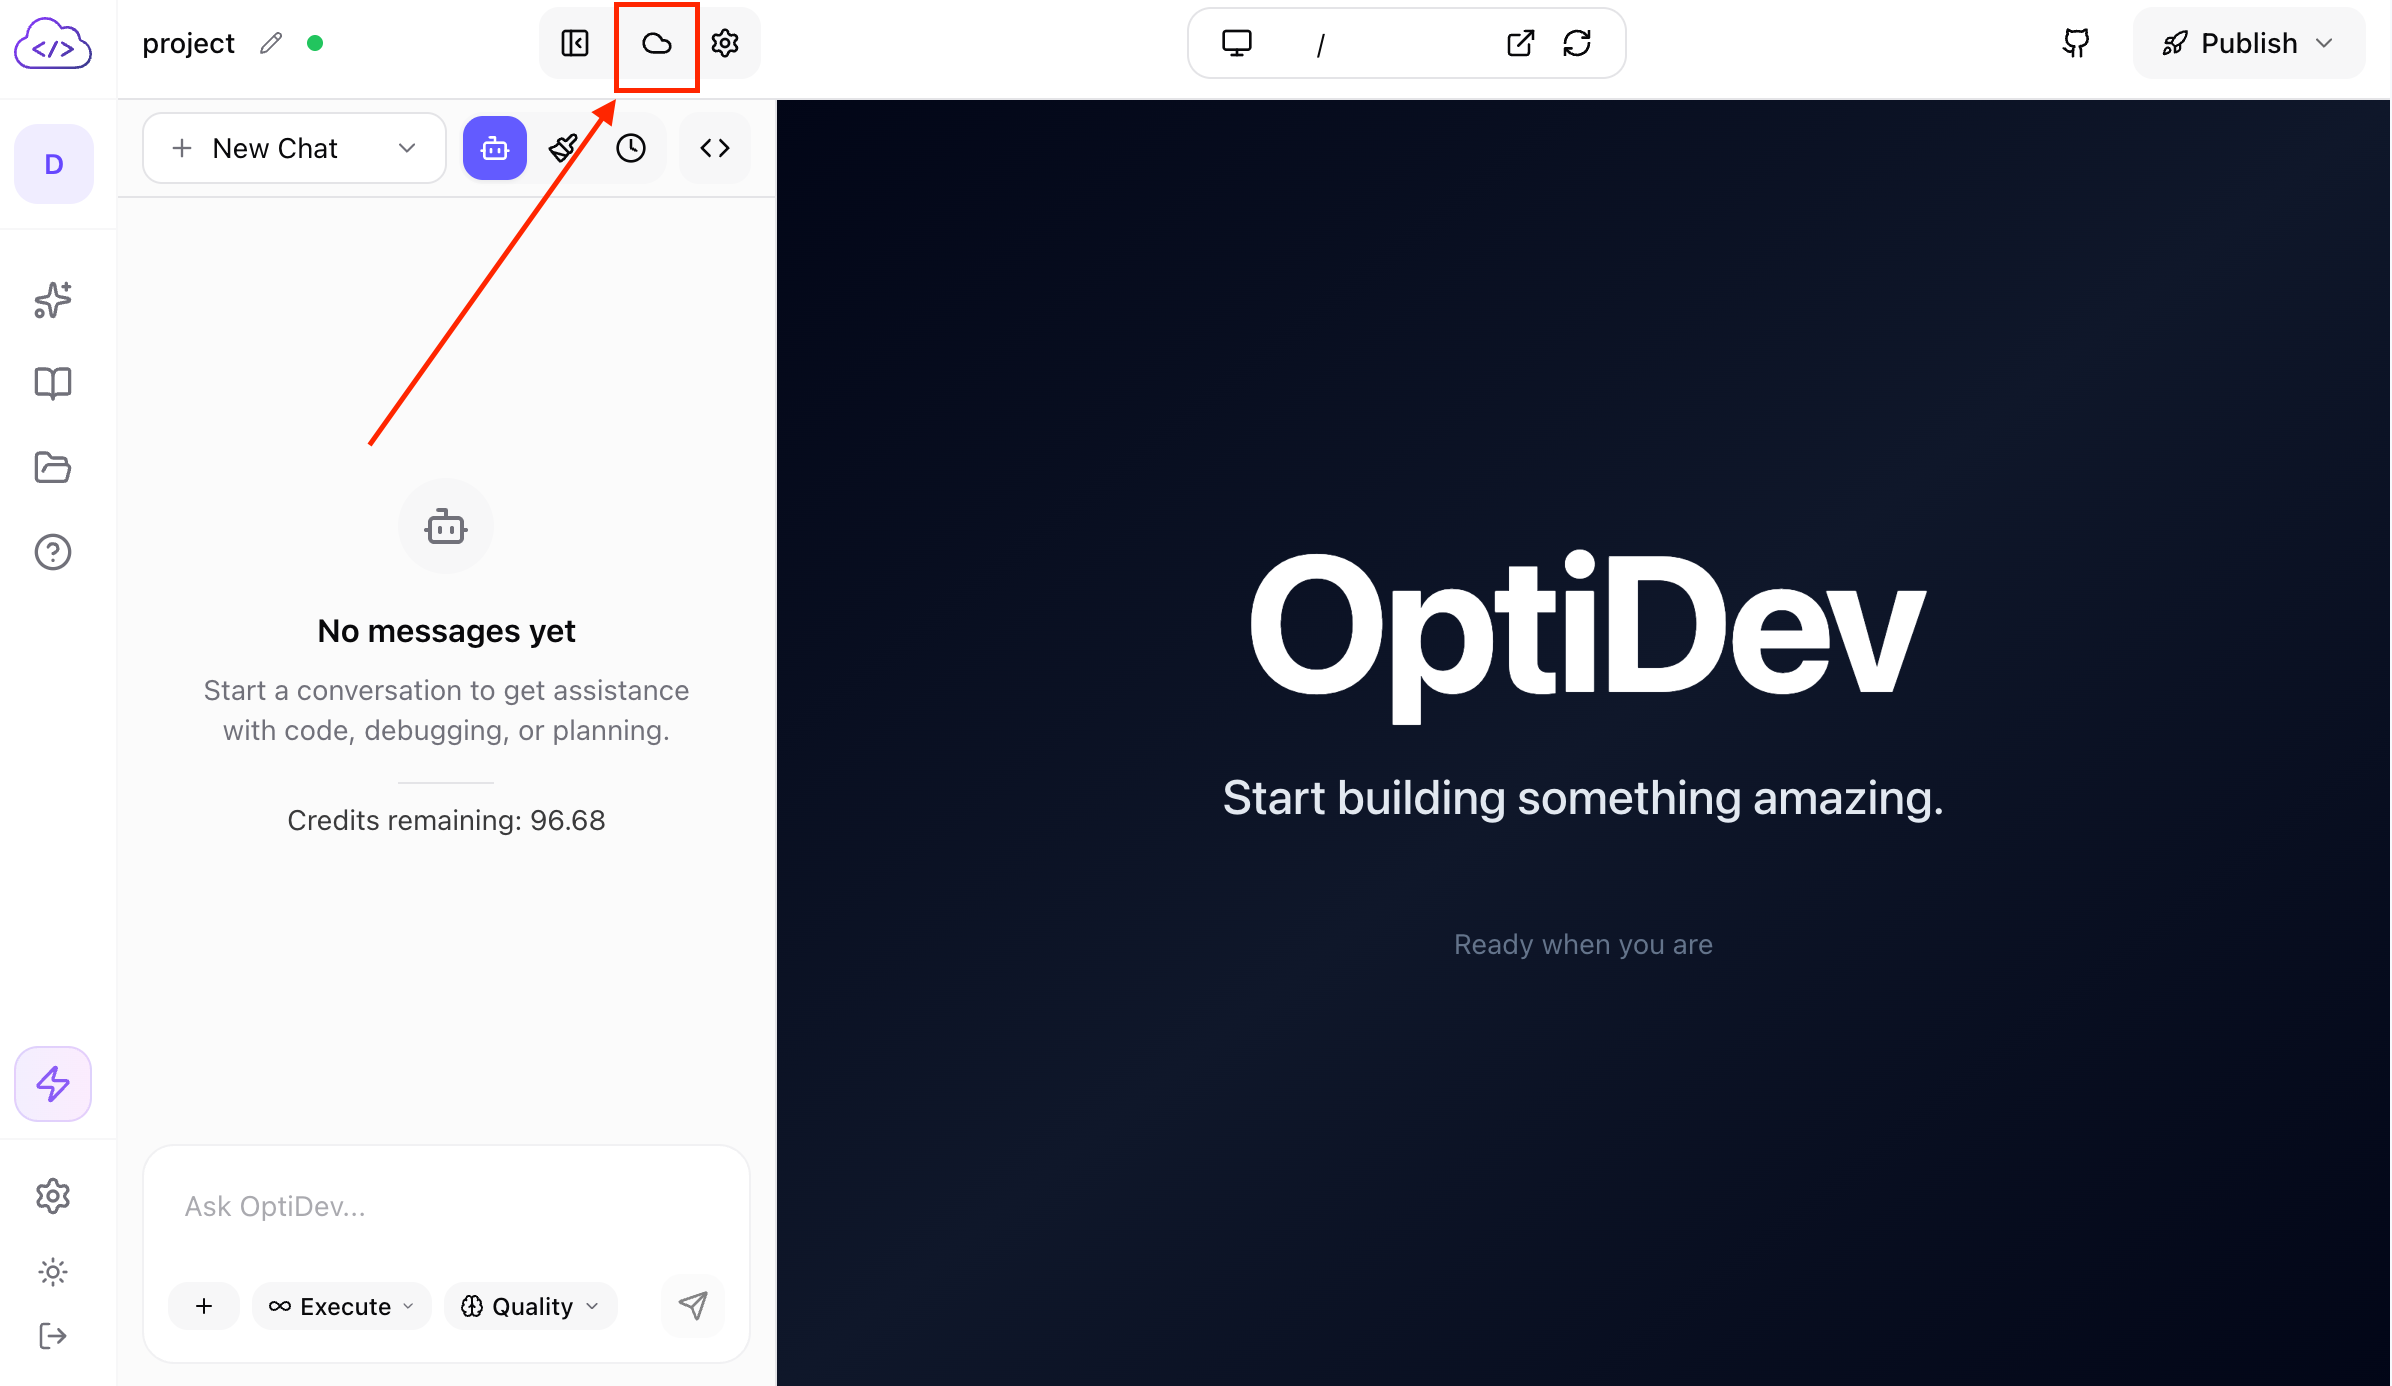
Step 2: Choose a Region
Select a region closest to where your users are located:
Choosing a closer region means faster response times for your users.
Step 3: Activate
Click the Activate OptiDev Cloud button. You’ll see a progress bar while your backend is being set up. Instant Activation: OptiDev Cloud uses a warm pool system that pre-provisions resources, so activation typically completes in under a second (compared to 2-3 minutes for traditional backends). The progress bar shows elapsed time and updates every few seconds. When complete, you’ll see a green Active badge and the dashboard will load with all tabs ready to use.Once activated, OptiDev Cloud is ready to use immediately. OptiDev Agent can start creating tables, functions, and storage buckets right away.
The OptiDev Cloud Dashboard
After activation, you’ll see 8 tabs for managing your backend:Connection Info
Access your API credentials and database connection details:- API URL - Your secure gateway endpoint for API calls
- Publishable Key - Public API key for frontend code
- Database Connection - PostgreSQL connection strings in 9 formats
- Reset Password - Generate a new database password
Database
Browse and query your data with a full-featured SQL editor:- Table List - See all your tables in the left sidebar (only public schema tables are shown)
- SQL Editor - Monaco-powered editor with syntax highlighting
- Click to Query - Click any table name to instantly view its data (first 10 rows)
- Query Results - View results in a table with row count display
- Export Data - Download results as CSV, JSON, or XLSX
Auth
Manage user authentication with multiple sign-in methods. Email/Password is enabled by default. Key features:- Sign-in Providers - Enable Email, Phone (SMS), or Google authentication
- Auth Settings - Configure Site URL, allowed redirect URLs, and signup options
- User Signup Controls - Allow/disable new signups, enable anonymous users
Users
View and manage registered users in your app. Key features:- User List - Search and browse all users with pagination
- Create Users - Manually create user accounts
- Invite Users - Send email invitations for self-registration
- Delete Users - Remove user accounts
Edge Functions
Run server-side code for APIs, integrations, and background tasks. Key features:- Workspace Functions - Functions in your code, ready to deploy
- Deployed Functions - Functions running on OptiDev Cloud
- One-click Deploy - Deploy functions directly from the dashboard
- Testing Tools - Test functions with custom requests before connecting to your app
Secrets
Securely store API keys and environment variables for your Edge Functions. Key features:- Write-Only Security - Secret values can never be retrieved after saving
- Bulk Operations - Add multiple secrets at once before saving
- Instant Access - Secrets are immediately available in Edge Functions via
Deno.env.get()
Storage
Manage file storage with buckets for images, documents, and videos. The Storage tab shows all your buckets with public/private badges. Key features:- Create buckets with file size limits and MIME type restrictions
- Browse files with folder navigation
- Upload files directly from your computer
- View and manage Row Level Security (RLS) policies
Advisors
Automatically scan your database for security vulnerabilities and performance issues:- Security checks - Missing Row Level Security, exposed data, weak access policies
- Performance checks - Missing indexes, slow queries, inefficient configurations
- Severity filtering - View by ERROR (critical), WARN (important), or INFO (suggestions)
- One-click remediation - Copy SQL fixes directly from issue details
Using OptiDev Agent with OptiDev Cloud
The easiest way to work with OptiDev Cloud is through OptiDev Agent. Just describe what you need in plain language.Creating Tables
Tell OptiDev Agent what data you want to store:“Create a products table with name, description, price, and image URL”OptiDev Agent will:
- Create the table with the right column types
- Set up the database schema
- Show you the table in your dashboard
Adding Authentication
Ask OptiDev Agent to add login:“Add user authentication to my app with email and Google sign-in”OptiDev Agent will:
- Enable the auth providers
- Add sign-in forms to your app
- Connect everything together
Creating API Endpoints
Describe the functionality you need:“Create an API endpoint that accepts payment with Stripe and saves the order to the database”OptiDev Agent will:
- Create an Edge Function with the Stripe integration
- Deploy it to OptiDev Cloud
- Connect it to your frontend
Working with Storage
Ask OptiDev Agent to set up file storage:“Add profile picture upload to user settings and display them next to usernames”Learn more about Storage →
Managing Secrets
Request secure environment variable storage:“Store my Stripe API key securely so I can use it in Edge Functions”OptiDev Agent will:
- Create a secret with your API key
- Update your Edge Function code to use
Deno.env.get('STRIPE_API_KEY') - Ensure the secret is never exposed in your frontend
What OptiDev Agent Can Do
OptiDev Agent has access to 20 specialized tools for OptiDev Cloud: Database (2 tools)- Query database via PostgREST API
- Execute DDL SQL for schema changes and RLS policies
- List and manage authenticated users
- List deployed functions
- Deploy functions from workspace
- Get function source code
- List, create, update, and delete buckets
- Upload files with presigned URLs
- List and delete files
- Browse folders with prefix filtering
- List secrets (names and digests only)
- Create write-only secrets
- Delete secrets in bulk
- Fetch service logs (api, postgres, edge-function, auth, storage, realtime)
- Get security and performance advisor recommendations
- Get project info and activation status
- Request OptiDev Cloud activation with inline button in chat
Checking Your Data
Viewing Tables
- Go to the Database tab
- Click any table name in the left sidebar
- Browse rows using the pagination controls at the bottom
Editing Data
- Double-click any cell to edit it
- Press Enter to save or Escape to cancel
- Click Add Row to create a new entry
Running Queries
Type SQL in the editor to search or analyze your data:Viewing Users
- Go to the Users tab
- You’ll see a paginated list of all registered users
- Each user shows:
- Email address
- When they signed up
- Last sign-in time
- Auth provider used (email, phone, or Google)
Monitoring Edge Functions
Viewing Deployed Functions
- Go to the Edge Functions tab
- Deployed Functions shows all functions running on OptiDev Cloud
- Each function shows its name, version, and last update time
Function Details
Click View Details on any function to see:- Function URL (for calling from your app)
- Execution history
- Recent invocations
- Version number
Testing Functions
- Click Test next to any deployed function
- Choose the HTTP method (GET, POST, PUT, PATCH, DELETE)
- Add headers, query parameters, or request body data
- Click Send Request to see the response
- Status code with color-coded badge
- Response body (formatted JSON)
For Developers
Technical Reference
Technical Reference
Environment Variables
When you activate OptiDev Cloud, these environment variables are automatically added to your project’s.env.local:VITE_SUPABASE_URL- Your secure gateway URL (routes requests through OptiDev’s gateway with automatic session management)VITE_SUPABASE_GATEWAY_URL- Same as above, provided for compatibilityVITE_SUPABASE_PUBLISHABLE_KEY- Your public API key
Supabase Client
OptiDev Cloud is built on Supabase. You can use the Supabase JavaScript client directly:src/lib/supabaseClient.ts when you activate OptiDev Cloud.Database Connection
The connection string uses session pooler (port 5432) for full PostgreSQL compatibility. Use it with any PostgreSQL client or ORM.The pooler provides dynamic host resolution via Supabase’s pooler config API for optimal connection management.Edge Functions Runtime
Functions run on Deno with TypeScript support. Access secrets viaDeno.env.get('SECRET_NAME').Auto-injected environment variables:SUPABASE_URL- Your project URLSUPABASE_ANON_KEY- Public (publishable) keySUPABASE_SERVICE_ROLE_KEY- Admin key with full accessSUPABASE_DB_URL- Direct database connection string