> ## Documentation Index
> Fetch the complete documentation index at: https://docs.optidev.ai/llms.txt
> Use this file to discover all available pages before exploring further.
# Publish to OptiSigns Screens
> Display your app on digital signage screens
You'll need an Admin role in your workspace to publish to OptiSigns. If you're a member of an invited workspace, ask your workspace admin to grant you admin access.
## What is OptiSigns Integration?
OptiSigns is a digital signage platform that powers screens in offices, stores, restaurants, and public spaces. With OptiDev's integration, you can build an app and display it directly on any OptiSigns-connected screen.
**Perfect for:**
* Office dashboards showing KPIs and metrics
* Retail displays with promotions and product info
* Restaurant menus that update in real-time
* Lobby directories and wayfinding
* Kiosk applications for self-service
## How to Publish
### Prerequisites
* An OptiSigns account with screens set up
* A published OptiDev app (the system will prompt you to publish if needed)
### Step-by-Step
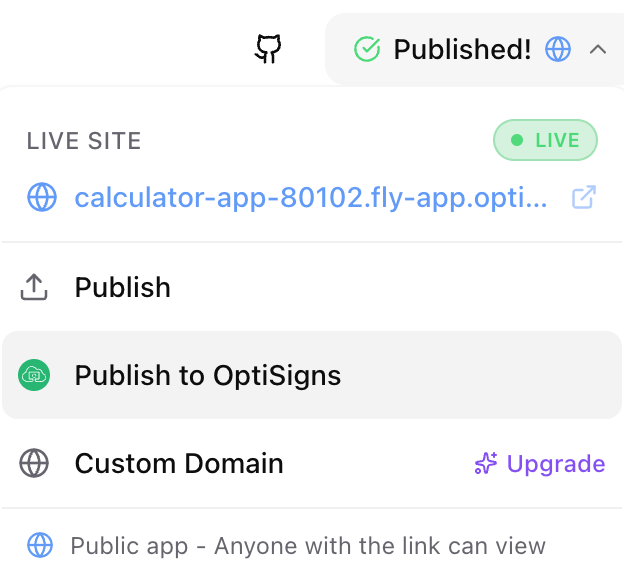
In your project editor, click the **Published** button in the top toolbar, then select **Publish to OptiSigns** from the dropdown.
 If your app isn't published yet, you'll be prompted to publish first. Choose your visibility setting and click **Publish**. The OptiSigns flow continues automatically once deployment completes.
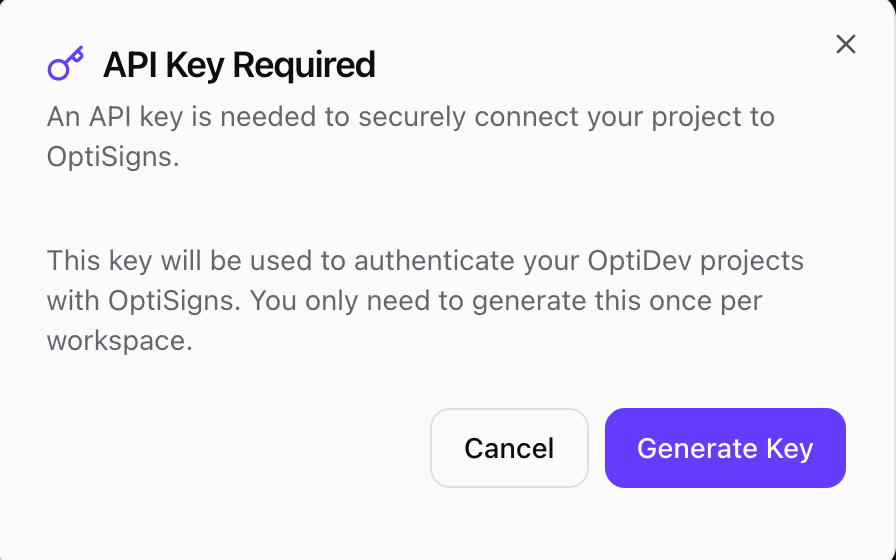
On first use, you'll need to generate a workspace API key. Click **Generate Key** to create your secure key.
If your app isn't published yet, you'll be prompted to publish first. Choose your visibility setting and click **Publish**. The OptiSigns flow continues automatically once deployment completes.
On first use, you'll need to generate a workspace API key. Click **Generate Key** to create your secure key.
 Once generated, the key is displayed. You can copy it if needed for other integrations. Click **Continue to OptiSigns** to proceed.
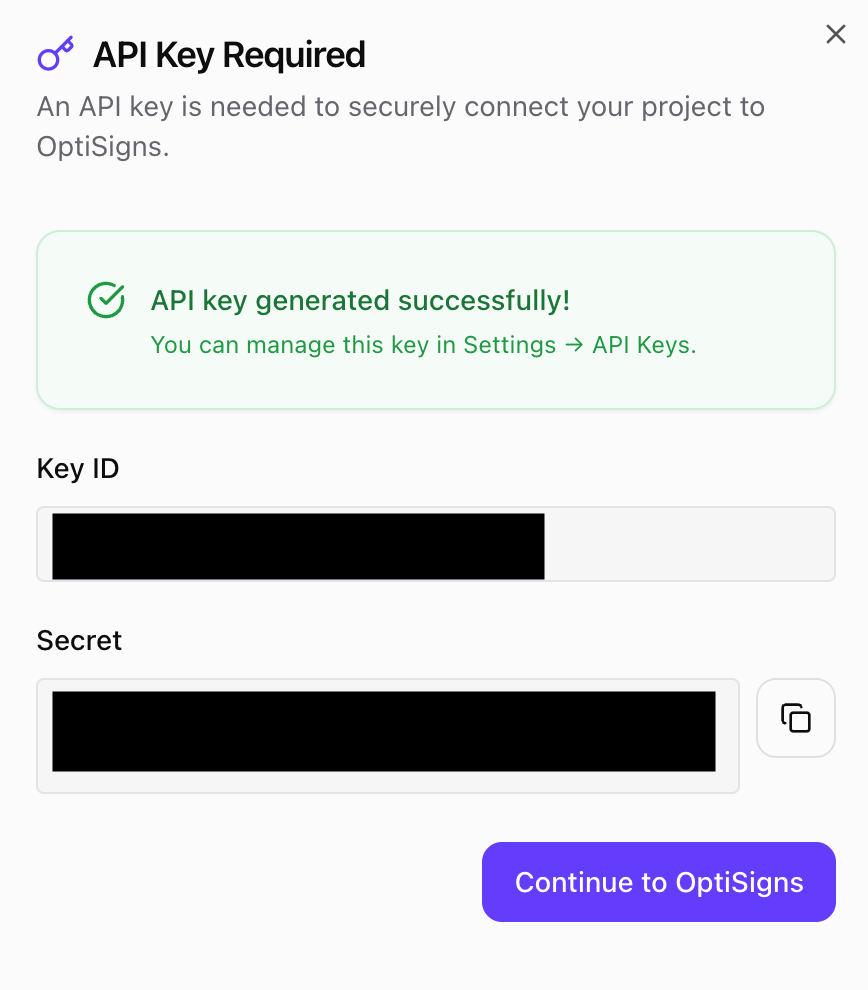 You only need to generate this key once per workspace. Future publishes will skip this step.
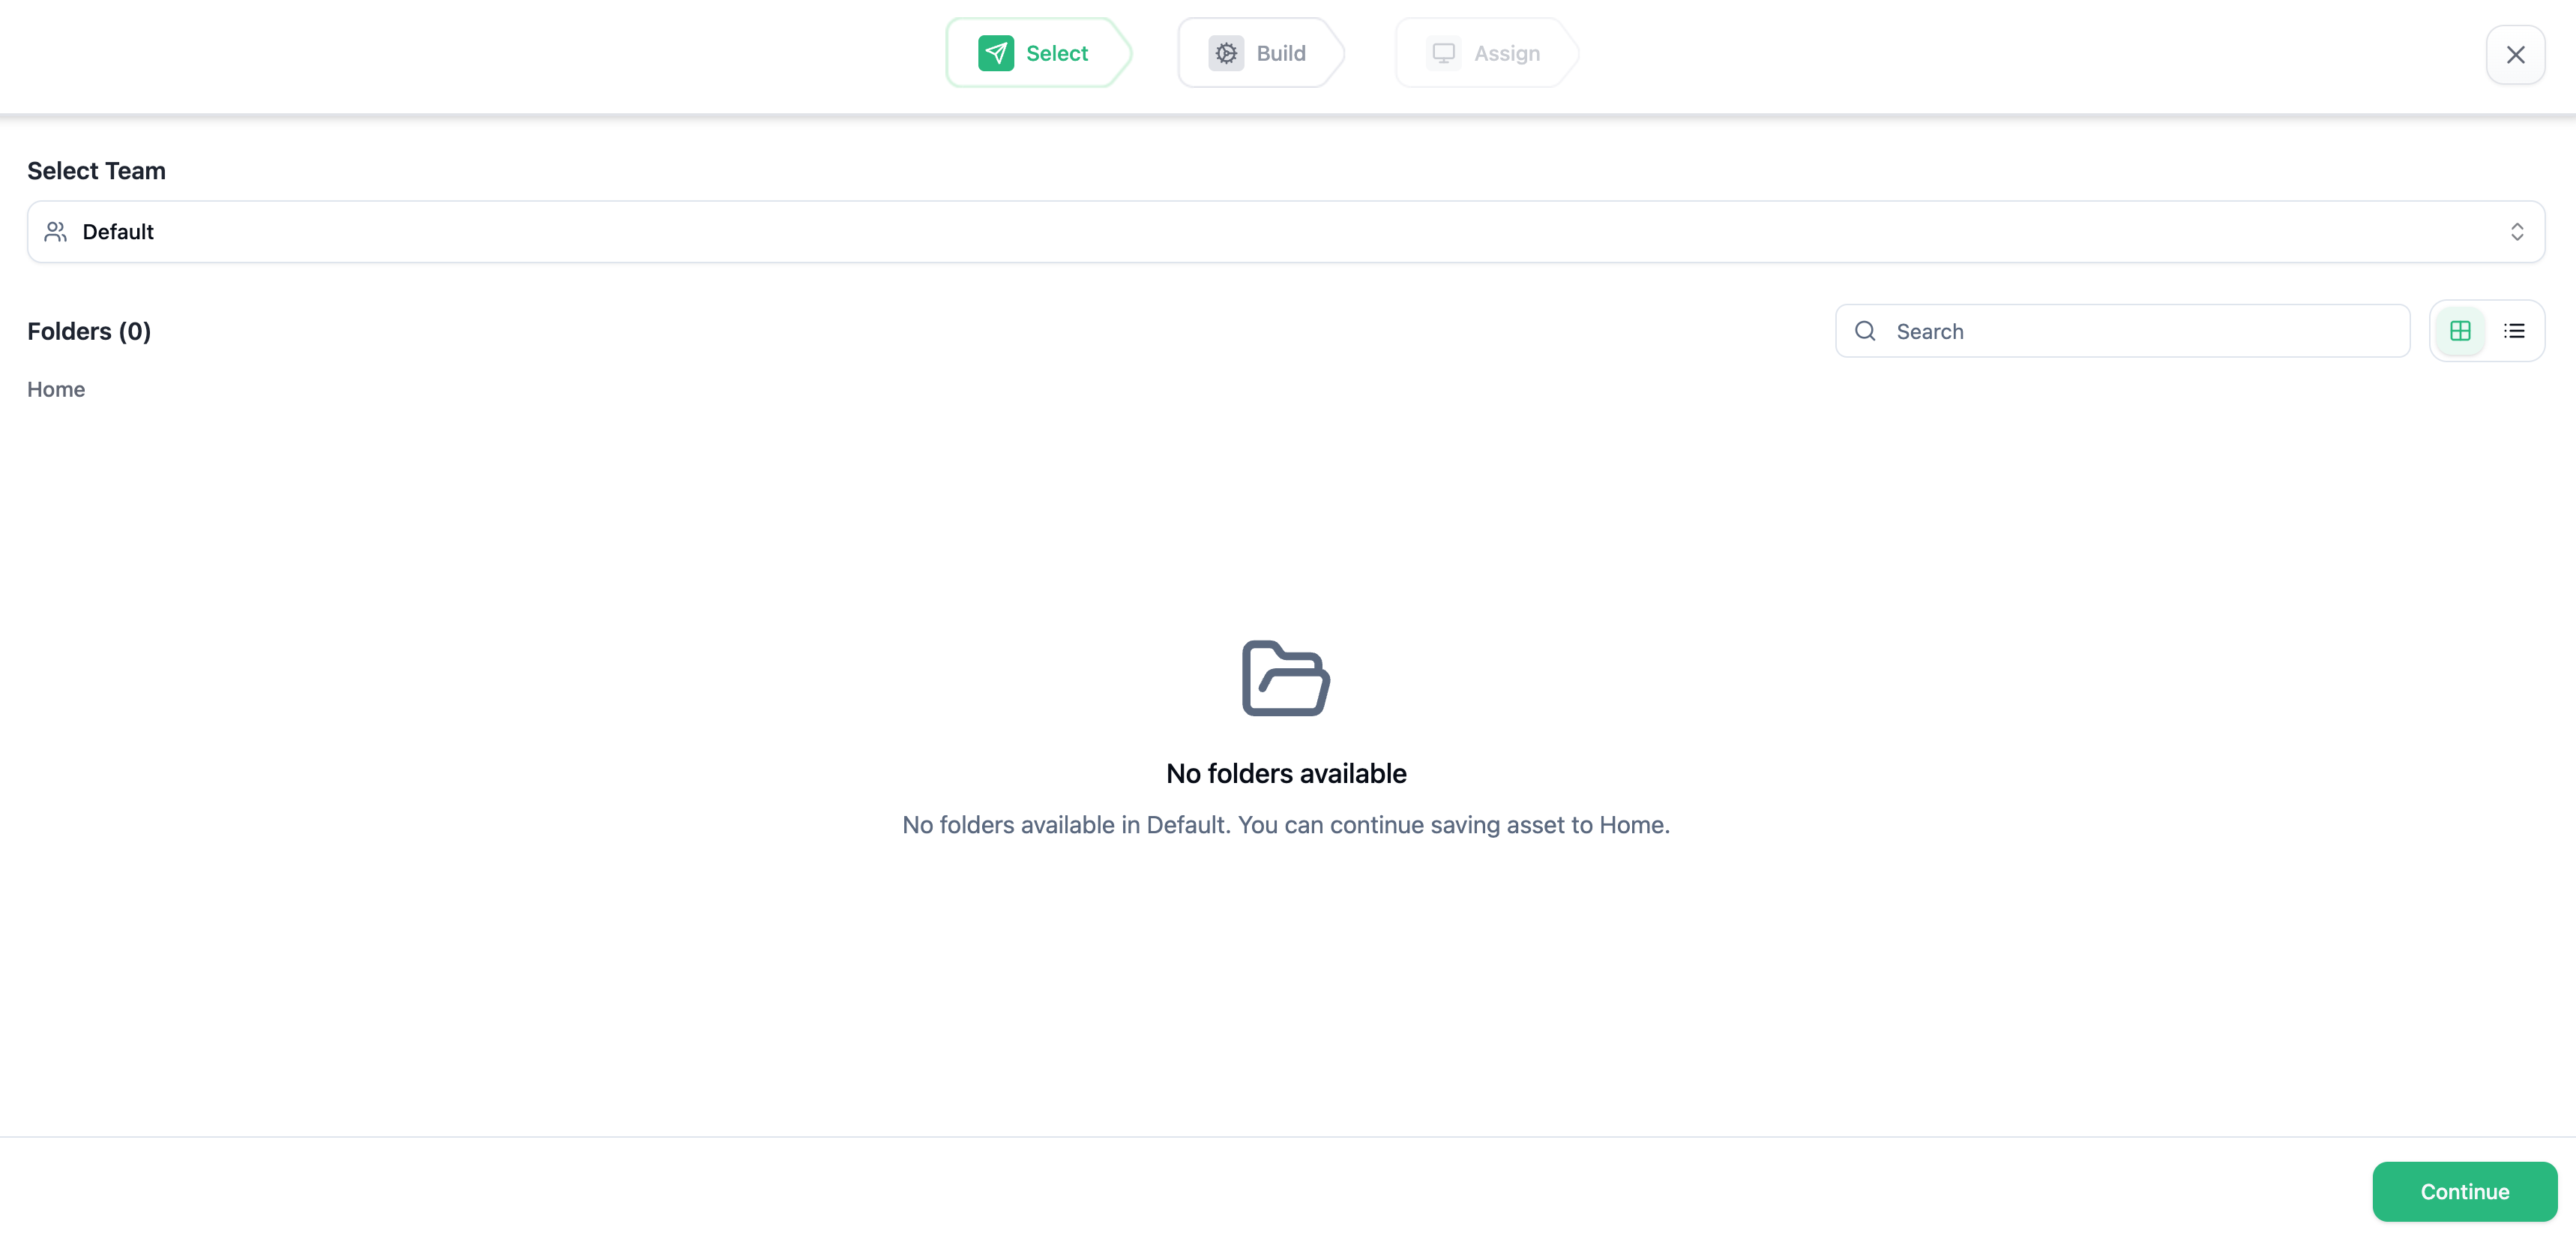
The OptiSigns picker opens with three steps: **Select**, **Build**, and **Assign**.
* Choose your team from the dropdown
* Select a folder to save your app as an asset
* Click **Continue** to proceed
You only need to generate this key once per workspace. Future publishes will skip this step.
The OptiSigns picker opens with three steps: **Select**, **Build**, and **Assign**.
* Choose your team from the dropdown
* Select a folder to save your app as an asset
* Click **Continue** to proceed
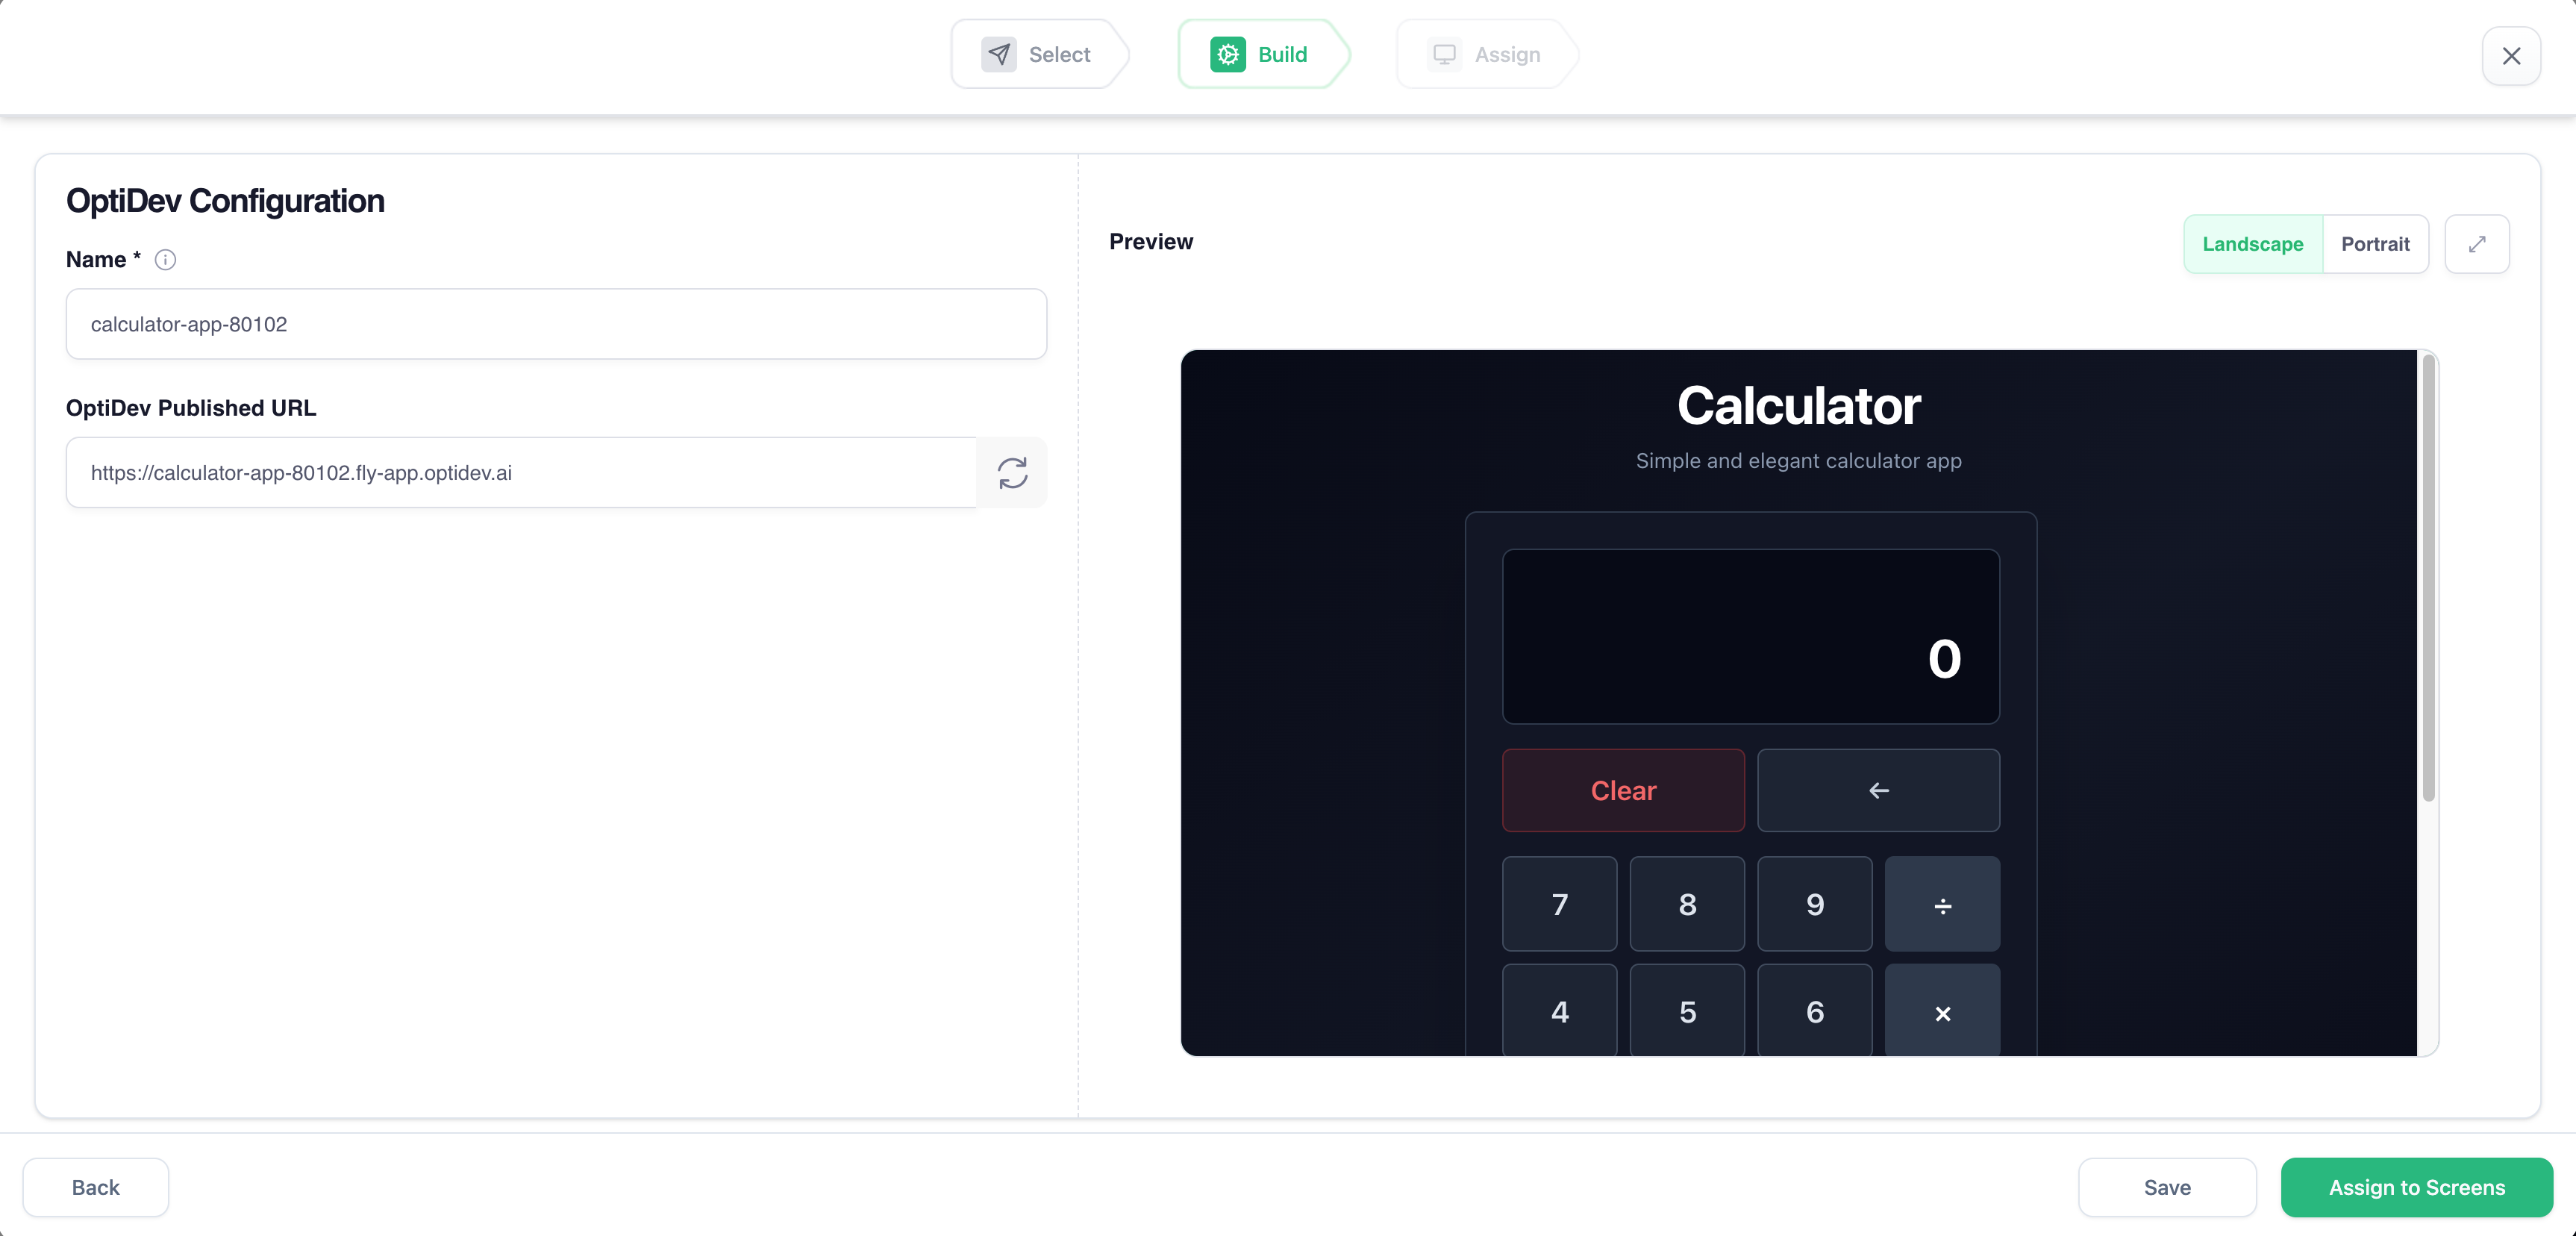
 In the **Build** step, configure how your app appears in OptiSigns:
* **Name** - Give your app a recognizable name
* **Preview** - See how your app looks in landscape or portrait mode
* Click **Assign to Screens** to continue, or **Save** to assign later
In the **Build** step, configure how your app appears in OptiSigns:
* **Name** - Give your app a recognizable name
* **Preview** - See how your app looks in landscape or portrait mode
* Click **Assign to Screens** to continue, or **Save** to assign later
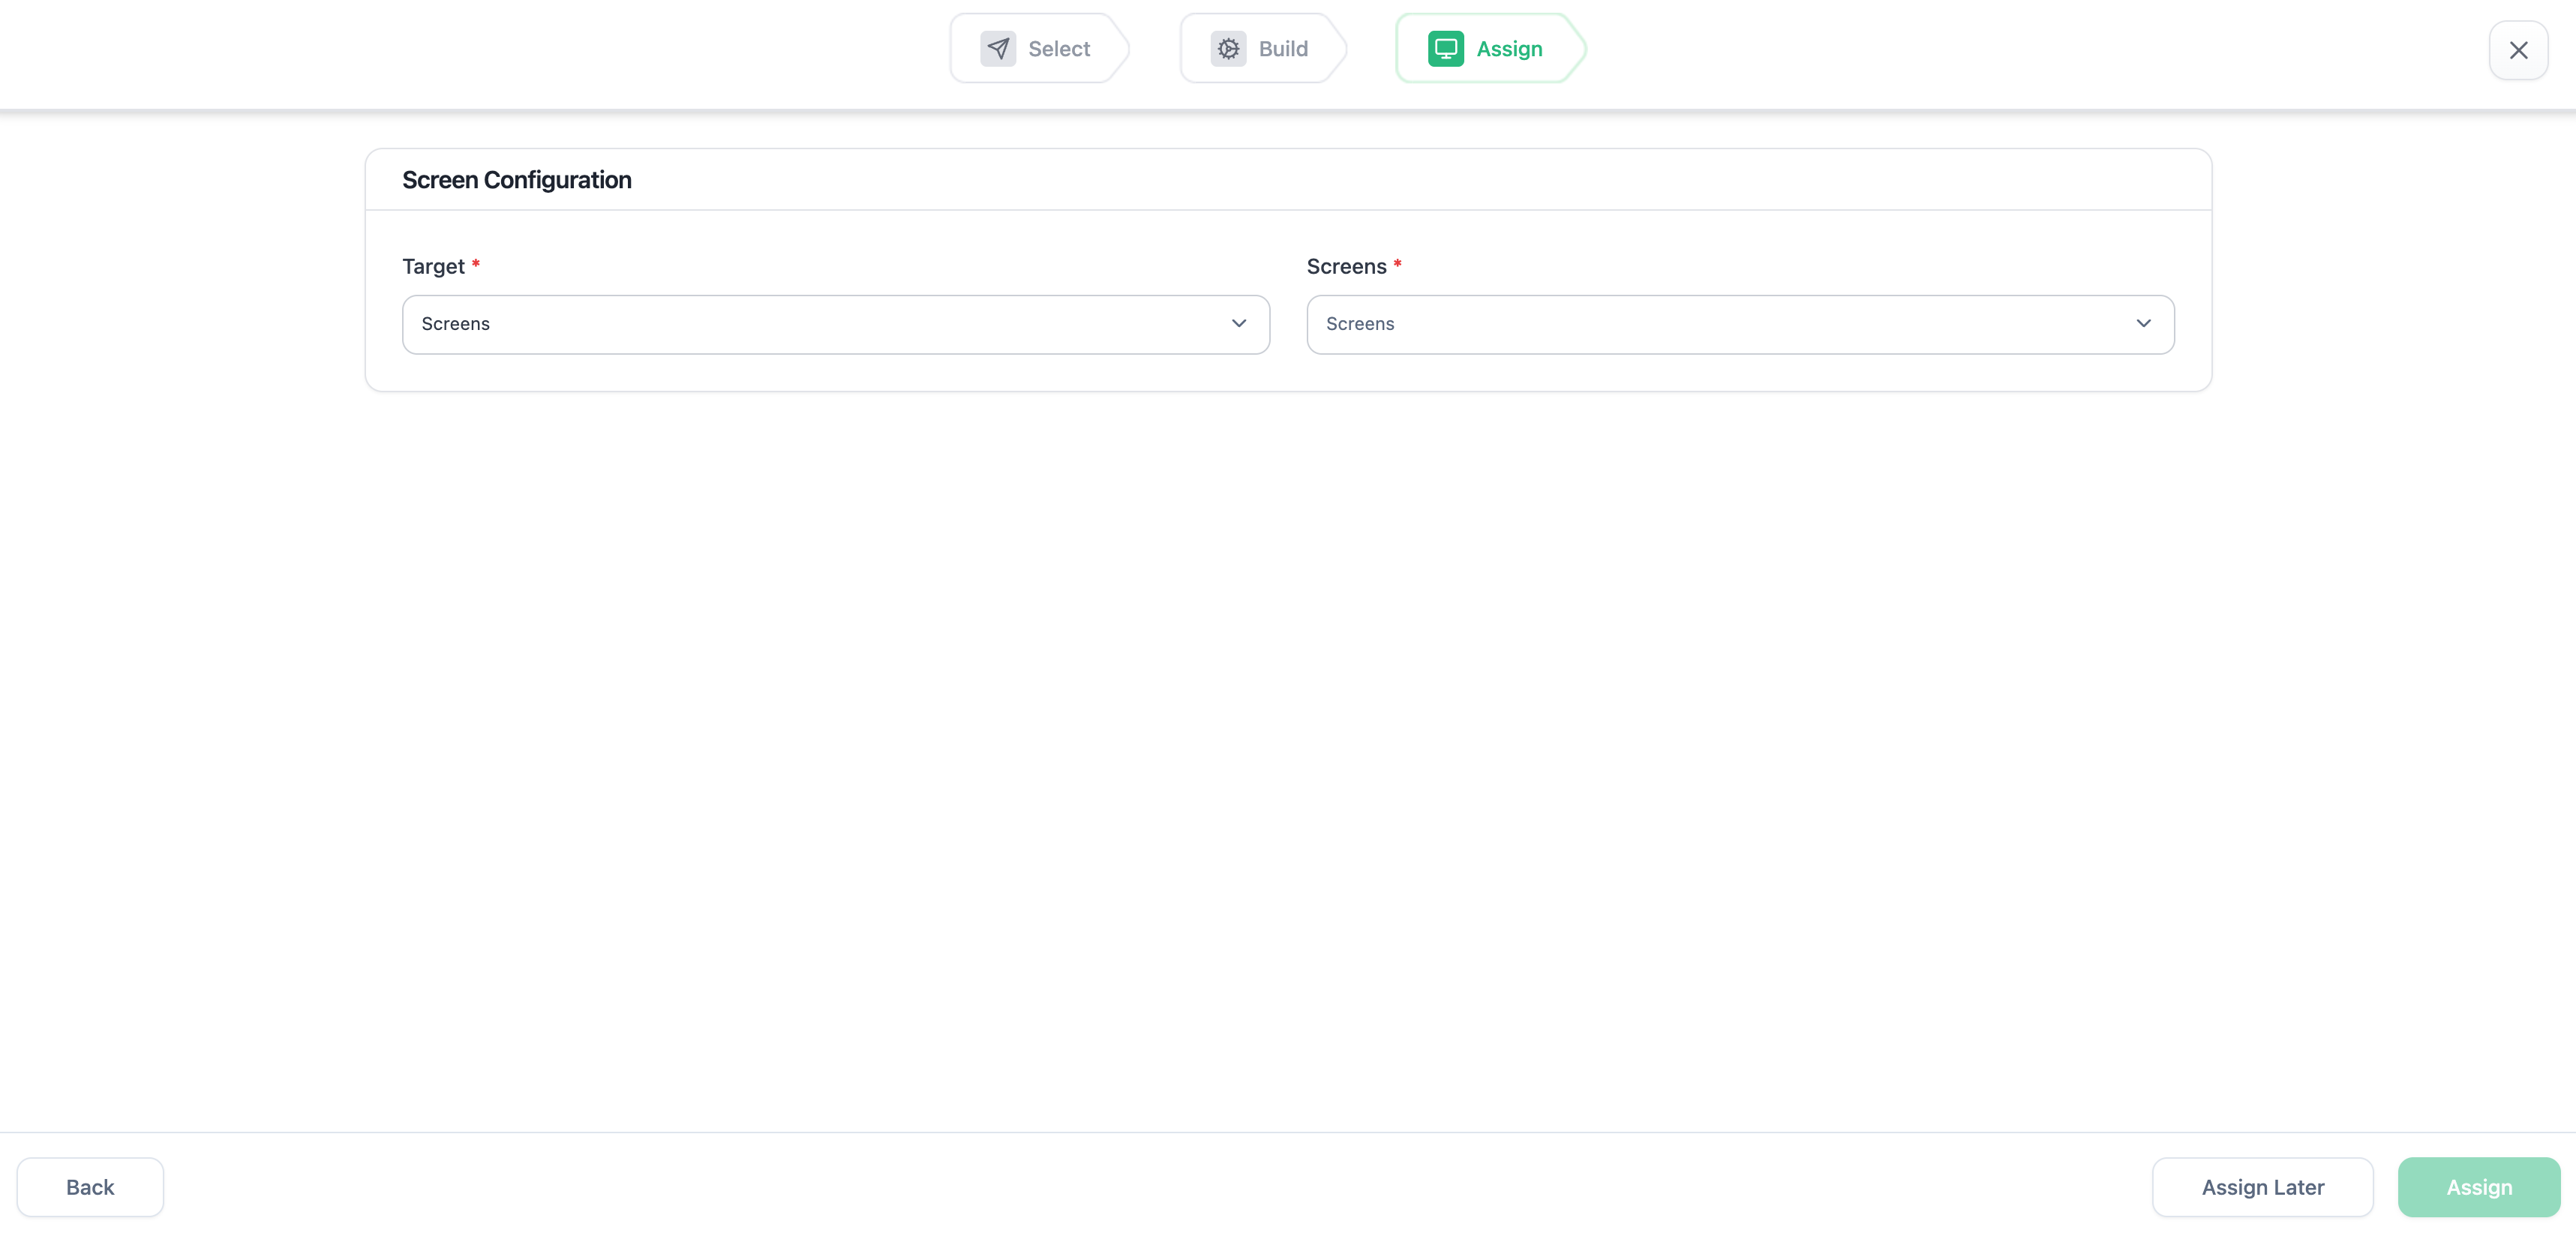
 In the **Assign** step, select which screens display your app:
* **Target** - Choose to assign to screens or screen groups
* **Screens** - Select the specific screens
* Click **Assign** to push your app to screens, or **Assign Later** to do this from the OptiSigns dashboard
In the **Assign** step, select which screens display your app:
* **Target** - Choose to assign to screens or screen groups
* **Screens** - Select the specific screens
* Click **Assign** to push your app to screens, or **Assign Later** to do this from the OptiSigns dashboard
 Your app is now saved as an asset in OptiSigns and assigned to your selected screens. The app will appear on the screens within seconds.